Soy Glazed Chicken with Cucumber Salad – 35-Minute Recipe
A high‑protein meal‑prep dish featuring tender chicken thighs coated in a sweet‑savory soy glaze, paired with a crisp Persian cucumber salad tossed in rice vinegar and sesame seeds. Perfect for quick weeknight dinners with Asian‑inspired flavors.
Recipe by Joe Chu· Structured by ReelsMeals
From: Instagram(view original)
Rate this recipe
Save this recipe to your cookbook
Saving public recipes is free. Keep the source, add notes, and find it again without searching the feed.
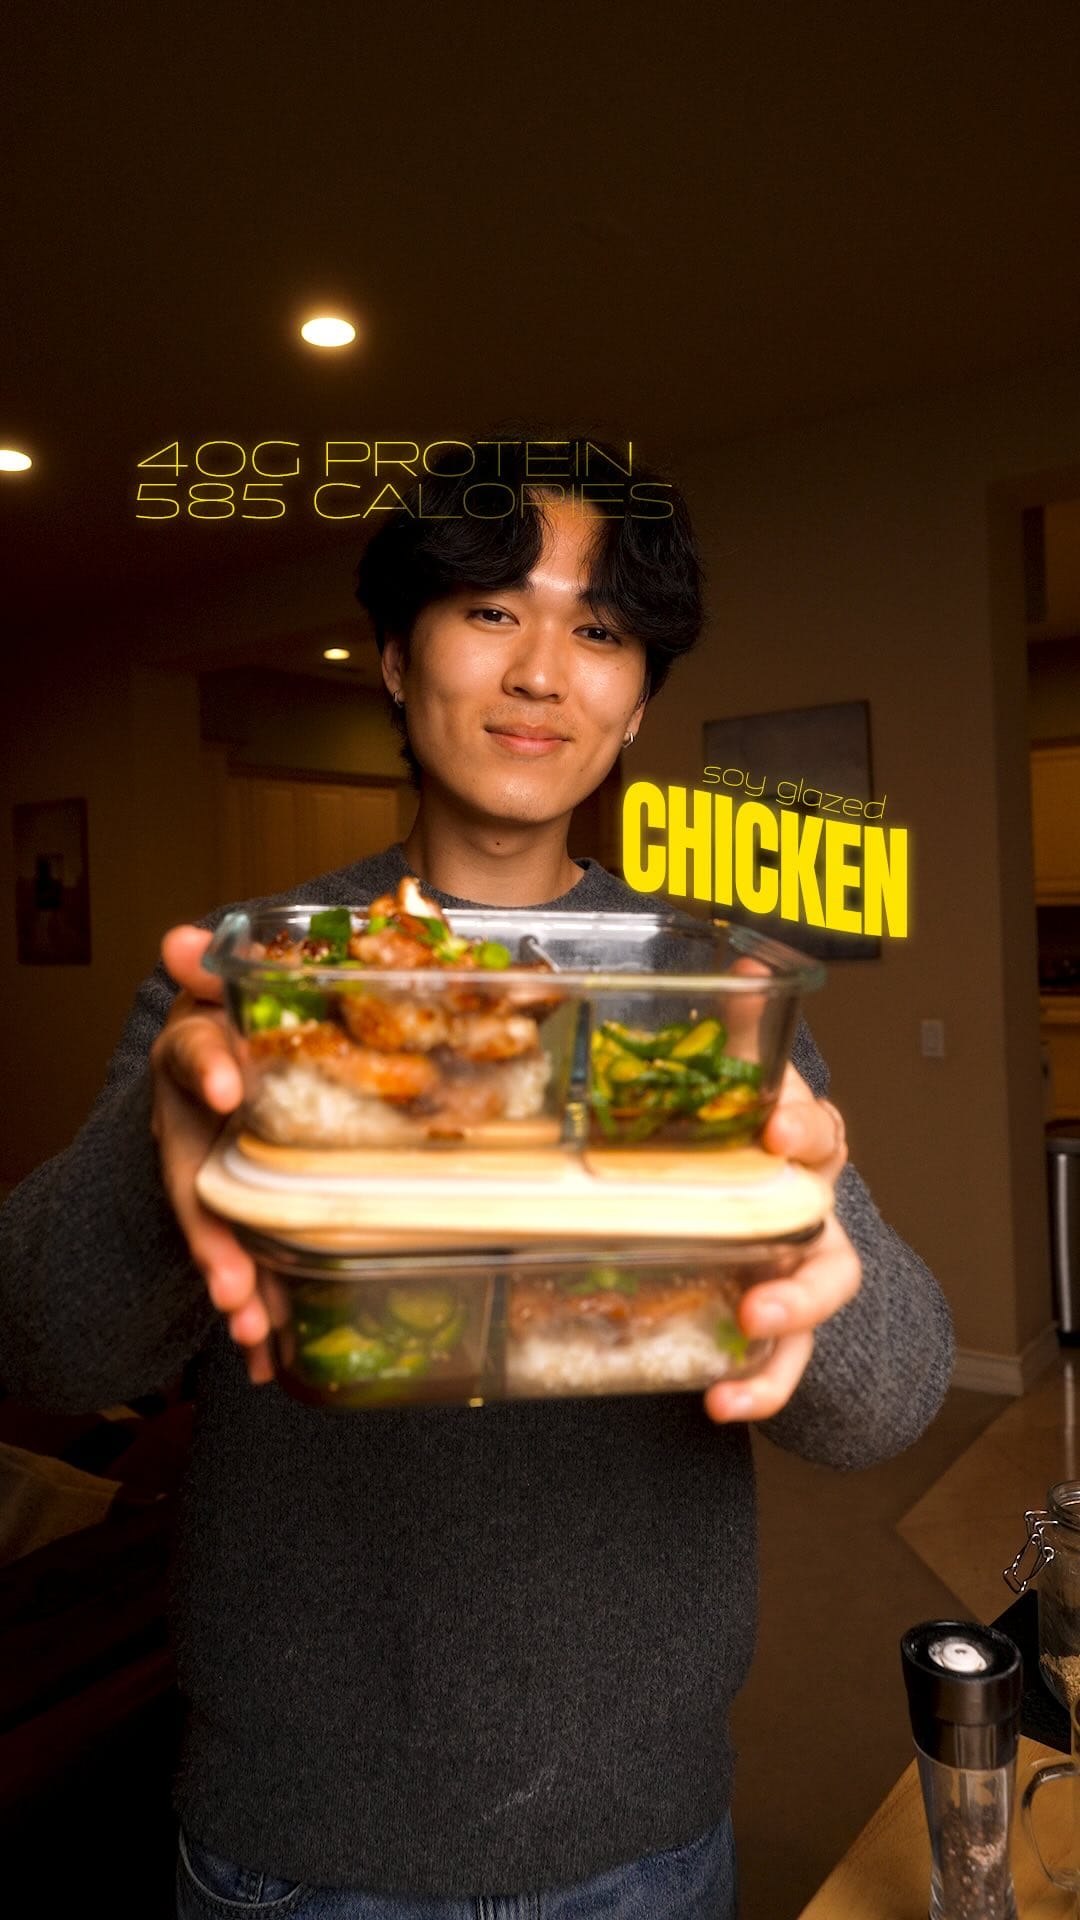
Watch the recipe video
Video plays from the original creator's platform. View the original video
Prep Time
Cook Time
Servings
One recipe link, ready for anywhere
Use it in Instagram, TikTok, YouTube, email, or a creator bio. It always opens this recipe and keeps the original source attached.
Publishing this recipe elsewhere? Add a visible credit link back to this page.
Publisher & backlink kit+
Give publishers a useful, properly credited asset. Backlinks only happen when another site chooses to publish and credit it.
Download the card, upload it to Google Lens, then use the outreach message for relevant uncredited copies. Contact only sites that actually reuse the asset.
About this saved recipe
Source-aware card
ReelsMeals turns instagram.com into a kitchen-friendly checklist while keeping the original source attached.
Cooking context
35 min estimated total time for 2 servings.
Explore related saves
Ingredients
- 16 oz chicken thigh, boneless, skinless, raw
- 2 tsp black pepper
- 1/4 cup cornstarch
- 0.33 tbsp spray oil
- 1 green onion
- 1 1/2 cup cooked rice
Soy Glaze Sauce
- 2 1/2 tbsp soy sauce
- 1 tbsp oyster sauce
- 2 1/2 tbsp honey
- 1 1/2 tbsp minced garlic
Cucumber Salad
- 2 Persian cucumber
- 2 tsp salt
- 1 1/2 tbsp rice vinegar
- 2 tsp brown sugar
- 1/2 tbsp soy sauce
- 1 tsp sesame seeds
Instructions
- 1Slice the Persian cucumbers thinly and place them in a bowl; sprinkle with 2 tsp salt, toss, and let rest for 15 minutes to release water.
- 2While the cucumbers rest, pat the chicken thighs dry with paper towels.
- 3Season both sides of the chicken thighs with 2 tsp salt and 2 tsp black pepper.
- 4Dredge the seasoned chicken in ¼ cup cornstarch, shaking off any excess so the coating is even.
- 5Heat a large non‑stick skillet over medium heat and spray lightly with oil (≈⅓ tbsp).
- 6Add the coated chicken thighs and cook 4‑5 minutes per side, or until golden brown and the interior reaches 167°F (165°F).
- 7Transfer the cooked chicken to a plate and keep warm.
- 8Add the prepared soy glaze (soy sauce, oyster sauce, honey, minced garlic) to the hot pan; simmer for 45 seconds, stirring constantly.
- 9Return the chicken to the pan, spoon the glaze over it, and coat for an additional 1 minute; remove from heat.
- 10Rinse the salted cucumbers, pat dry, then toss with rice vinegar, brown sugar, ½ tbsp soy sauce, and sesame seeds to finish the salad.
- 11Divide 1½ cups cooked rice among two meal‑prep containers.
- 12Place one chicken thigh on each container, drizzle any remaining glaze over the meat.
- 13Add a generous portion of cucumber salad beside the chicken.
- 14Garnish with sliced green onion and a sprinkle of extra sesame seeds if desired.
- 15To reheat later, keep the salad in a separate zip‑lock bag, microwave the rice covered with a damp paper towel for 1‑2 minutes, then add the chicken and finally the salad.
Helpful tips while cooking
AI-assisted notes grounded in this recipe's ingredients, timings, and method—not additional creator instructions.
Salt cucumbers early
Slice and salt the cucumbers first, then let them rest for 15 minutes before rinsing.
Dry chicken before coating
Pat the chicken thighs dry before seasoning and dredging in cornstarch.
Use the hot pan for the glaze
Add the prepared soy glaze to the same skillet after cooking the chicken and simmer for 45 seconds.
Reheat rice with moisture
Cover the rice with a damp paper towel when microwaving for 1‑2 minutes.
Made this recipe?
Tap a star to rate it — ratings help other cooks decide what to make next.
Rate this recipe
This recipe card was structured automatically from the original source. Always check the source for allergens or details the extraction may have missed.
Frequently asked questions
- How long does it take to make Soy Glazed Chicken with Cucumber Salad?
- About 35 minutes in total: 15 minutes of prep and 20 minutes of cooking.
- How many servings does this Soy Glazed Chicken with Cucumber Salad recipe make?
- This recipe makes 2 servings as written; ingredient quantities on this page can be scaled.
- Where does this Soy Glazed Chicken with Cucumber Salad recipe come from?
- It was shared by Joe Chu on instagram.com. ReelsMeals structured the original post into this step-by-step card; the original is linked above.