Crunchy Chickpea and Corn Salad – 35-Minute Recipe
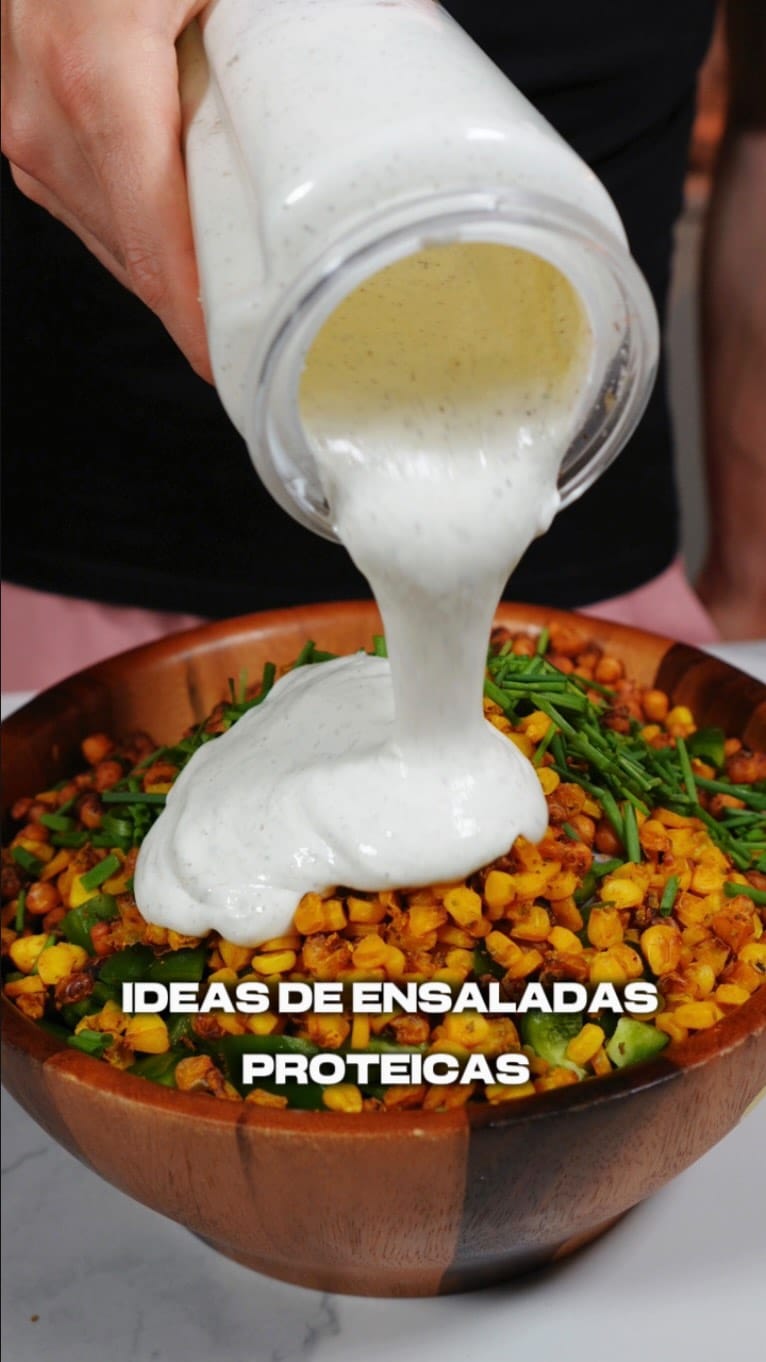
A vibrant, protein‑packed salad that blends the earthiness of chickpeas and corn with a zesty lime‑yogurt sauce. The roasted chickpeas and toasted corn add crunch, while fresh herbs brighten every bite, making it perfect for a quick lunch or a wholesome side.
Recipe by Jon García Abad | Entrenador online· Structured by ReelsMeals
From: Instagram(view original)
Rate this recipe
Save this recipe to your cookbook
Free, no account needed. Keep the source and find it again without searching the feed.
Watch the recipe video
Video plays from the original creator's platform. View the original video
Prep Time
Cook Time
Servings
One recipe link, ready for anywhere
Use it in Instagram, TikTok, YouTube, email, or a creator bio. It always opens this recipe and keeps the original source attached.
Publishing this recipe elsewhere? Add a visible credit link back to this page.
Publisher & backlink kit+
Give publishers a useful, properly credited asset. Backlinks only happen when another site chooses to publish and credit it.
Download the card, upload it to Google Lens, then use the outreach message for relevant uncredited copies. Contact only sites that actually reuse the asset.
About this saved recipe
Source-aware card
ReelsMeals turns instagram.com into a kitchen-friendly checklist while keeping the original source attached.
Cooking context
35 min estimated total time for 2 servings.
Explore related saves
Ingredients
- cilantro or parsley, to taste
Chickpea Mix
- 14 oz canned chickpeas
- 1 tbsp olive oil
- 1 tsp paprika
- 1 tsp cumin
- 1 tsp garlic powder
- 1 tsp oregano
- 1 tsp salt
Corn Mix
- 7 1/10 oz sweet corn
- 1 tsp black pepper
- 1 tsp turmeric
- 1 tsp oregano
Creamy Sauce
- 7 1/10 oz cottage cheese
- 7 1/10 oz low‑fat Greek yogurt
- 2 lime juice
- 1 tsp salt
- 1 tsp oregano
- 1 tsp black pepper
Vegetable Mix
- 2 pcs cucumber
- 2 pcs tomato
- 2 pcs green bell pepper
- 1 pcs red onion
- green onion, to taste
Instructions
- 1Preheat the oven to 392°F (or set the air‑fryer to 392°F). Line a baking sheet with parchment paper.
- 2In a bowl, combine the drained chickpeas, olive oil, paprika, cumin, garlic powder, oregano, and salt. Toss until evenly coated.
- 3Spread the seasoned chickpeas in a single layer on the prepared sheet and roast for 15–20 minutes, shaking the pan halfway through, until they are golden and crispy.
- 4While the chickpeas roast, place the sweet corn in another bowl with black pepper, turmeric, and oregano. Toss to coat.
- 5When the chickpeas are about halfway done, add the seasoned corn to the same oven (or air‑fryer) and toast for 15–20 minutes, stirring once, until lightly browned.
- 6Meanwhile, in a blender, combine cottage cheese, low‑fat Greek yogurt, lime juice, a pinch of salt, oregano, and black pepper. Blend until smooth to create the creamy sauce.
- 7Dice the cucumber, tomato, and green bell pepper. Thinly slice the red onion and soak it in a bowl of salted water for a few minutes to soften its bite, then drain.
- 8In a large mixing bowl, combine the roasted chickpeas, toasted corn, diced vegetables, and soaked red onion.
- 9Pour the creamy lime‑yogurt sauce over the salad and toss gently to coat all ingredients evenly.
- 10Finish by sprinkling chopped cilantro or parsley and green onion on top. Give the salad one final gentle toss and serve immediately.
Helpful tips while cooking
AI-assisted notes grounded in this recipe's ingredients, timings, and method—not additional creator instructions.
Season before roasting
Toss the drained chickpeas with olive oil and spices before spreading them on the sheet.
Shake for even crispness
Shake the pan halfway through the 15–20 minute roast.
Soften red onion
Slice the red onion and soak it briefly in salted water, then drain before mixing.
Blend sauce smooth
Blend cottage cheese, yogurt, lime juice, salt, oregano, and black pepper until smooth before tossing the salad.
Made this recipe?
Tap a star to rate it — ratings help other cooks decide what to make next.
Rate this recipe
This recipe card was structured automatically from the original source. Always check the source for allergens or details the extraction may have missed.
Frequently asked questions
- How long does it take to make Crunchy Chickpea and Corn Salad?
- About 35 minutes in total: 15 minutes of prep and 20 minutes of cooking.
- How many servings does this Crunchy Chickpea and Corn Salad recipe make?
- This recipe makes 2 servings as written; ingredient quantities on this page can be scaled.
- Where does this Crunchy Chickpea and Corn Salad recipe come from?
- It was shared by Jon García Abad | Entrenador online on instagram.com. ReelsMeals structured the original post into this step-by-step card; the original is linked above.