Crispy Pork Belly Recipe
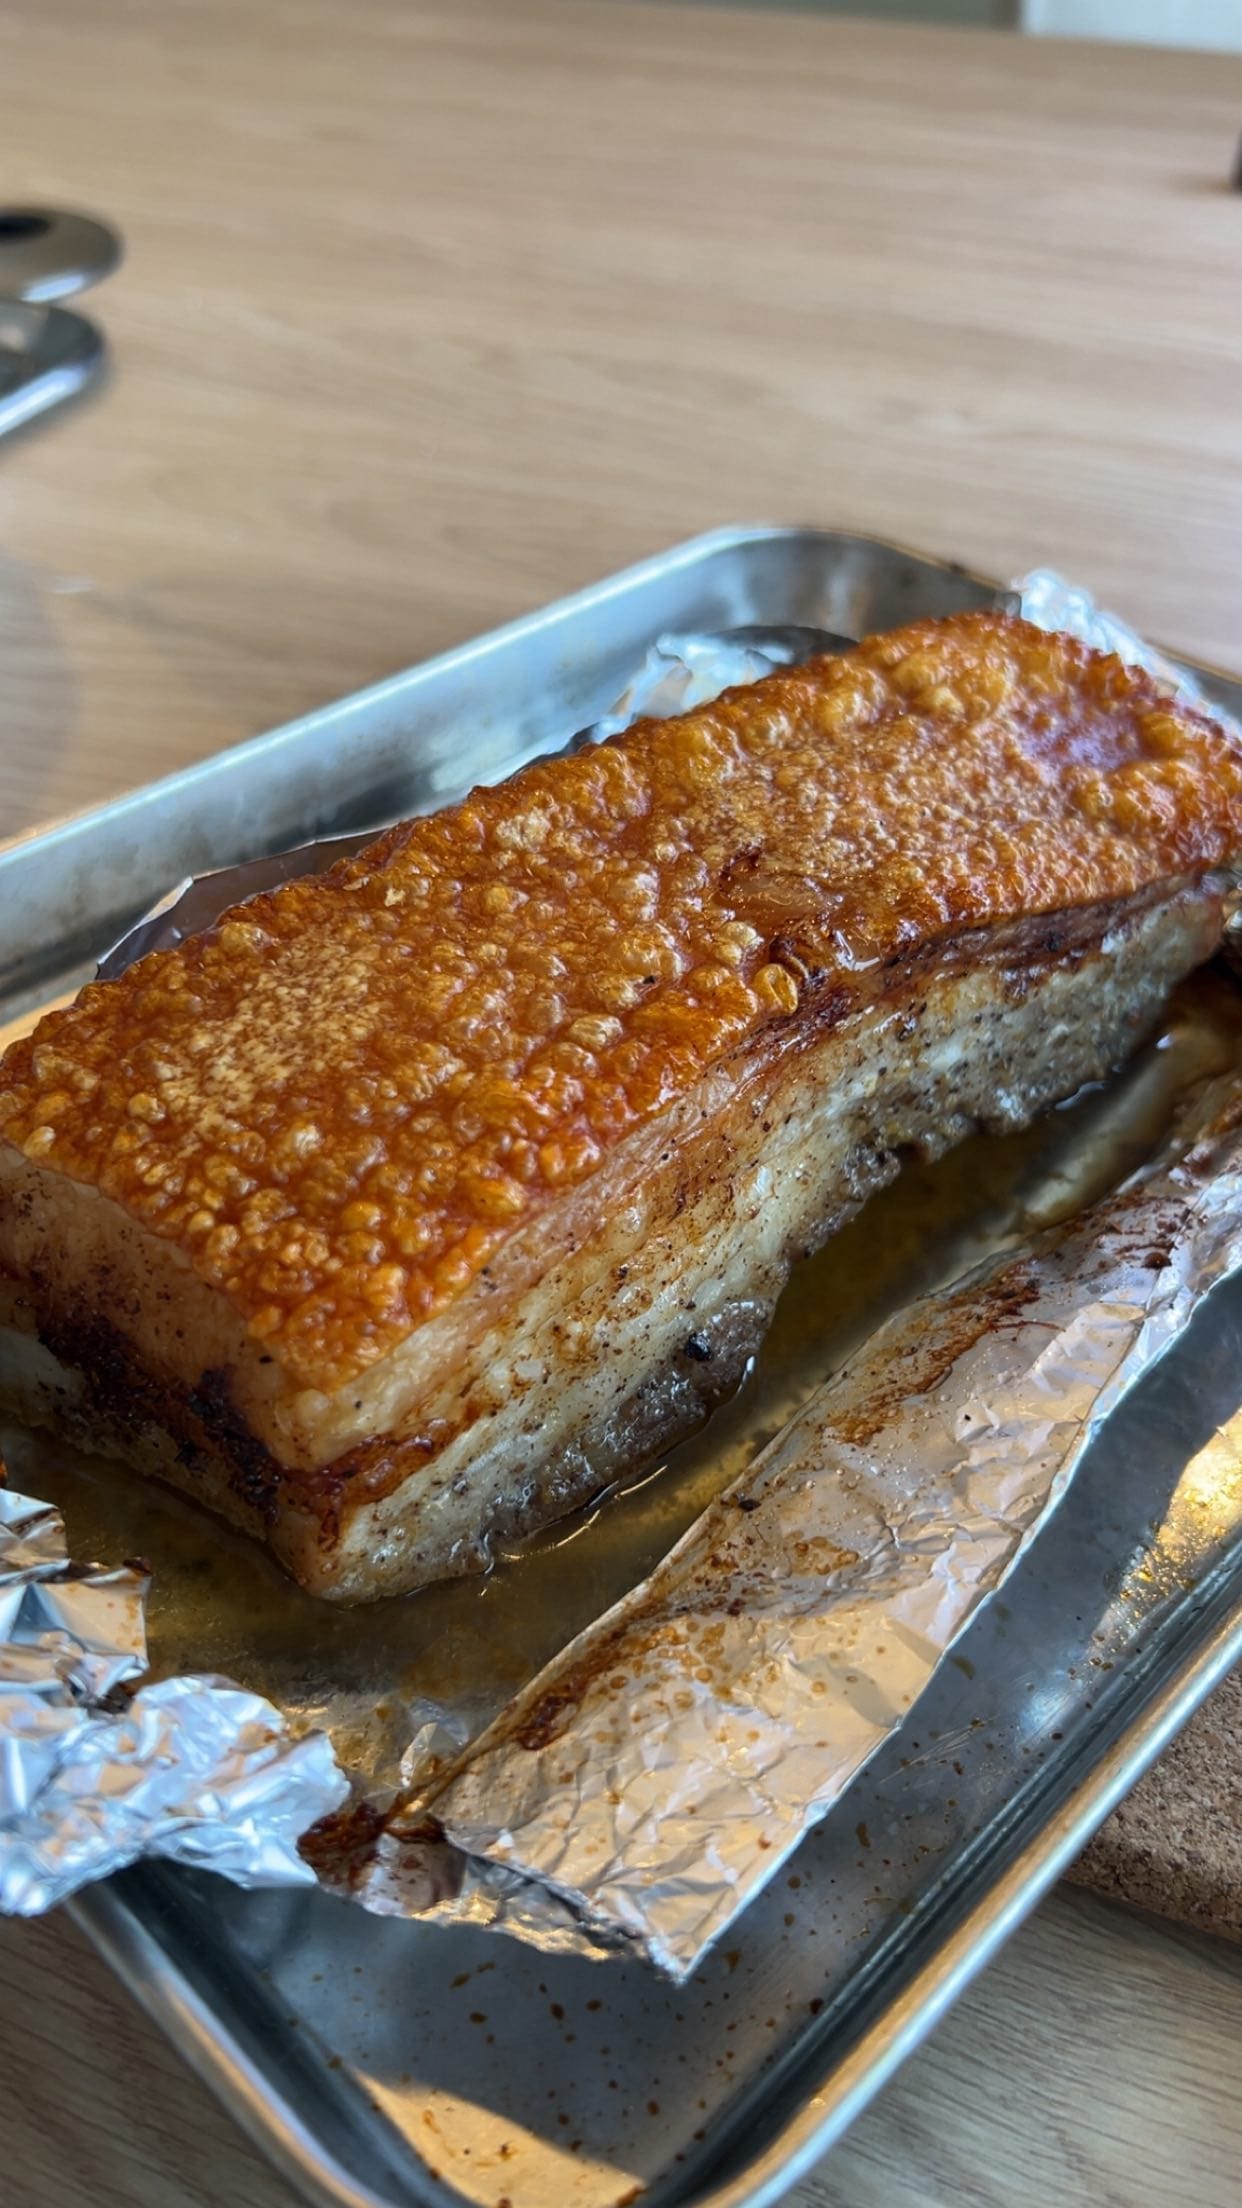
A Dutch‑inspired pork belly that combines savory five‑spice, tangy vinegar, and a crisp, caramelised crust. Slow‑roasting at low heat followed by a high‑heat finish yields tender meat with a crunchy skin, perfect for a hearty dinner.
Recipe by An Son· Structured by ReelsMeals
From: Instagram(view original)
Rate this recipe
Save this recipe to your cookbook
Saving public recipes is free. Keep the source, add notes, and find it again without searching the feed.
Watch the recipe video
Video plays from the original creator's platform. View the original video
Prep Time
Cook Time
Servings
One recipe link, ready for anywhere
Use it in Instagram, TikTok, YouTube, email, or a creator bio. It always opens this recipe and keeps the original source attached.
Publishing this recipe elsewhere? Add a visible credit link back to this page.
Publisher & backlink kit+
Give publishers a useful, properly credited asset. Backlinks only happen when another site chooses to publish and credit it.
Download the card, upload it to Google Lens, then use the outreach message for relevant uncredited copies. Contact only sites that actually reuse the asset.
About this saved recipe
Source-aware card
ReelsMeals turns instagram.com into a kitchen-friendly checklist while keeping the original source attached.
Cooking context
2 hr 20 min estimated total time for 4 servings.
Explore related saves
Ingredients
- 2 1/5 lb pork belly
- to taste salt
- to taste white pepper
- to taste five‑spice powder
- optional Shaoxing wine
- to taste vinegar
- to taste oil
Instructions
- 11. Pat the pork belly dry with paper towels, then use a fork to pierce the skin all over; this helps the fat render and the skin crisp later.
- 22. In a small bowl, combine coarse salt, a pinch of white pepper, five‑spice powder, and, if using, a splash of Shaoxing wine; mix into a dry rub.
- 33. Rub the pork belly skin with a thin layer of vinegar, then evenly coat the meat side with the spice rub, pressing it into the scored underside.
- 44. Place the seasoned pork belly on a rack set over a tray, cover loosely with plastic wrap, and refrigerate uncovered for at least 3 hours, preferably overnight, to dry the skin.
- 55. Pre‑heat the oven to 320°F (320°F).
- 66. Remove the pork belly from the fridge, let it sit at room temperature for 15 minutes, then transfer it to a roasting pan skin‑side up; add a splash of water to the pan to keep the meat moist.
- 77. Roast at 320°F for 45 minutes, until the meat is tender but the skin is still soft.
- 88. Carefully remove the pan, discard excess liquid, and pierce the skin again with a fork to create additional vents.
- 99. Brush the skin lightly with neutral oil to promote browning.
- 1010. Increase the oven temperature to 464°F (465°F) and return the pork belly to the oven.
- 1111. Roast for an additional 30‑35 minutes, watching closely, until the skin puffs up and turns deep golden‑brown and crackly.
- 1212. Remove the pork belly from the oven and let it rest on a cutting board for 10 minutes; this allows the juices to redistribute.
- 1313. Slice the pork belly into bite‑size pieces, cutting through the crisp skin and tender meat.
- 1414. Serve immediately, optionally drizzling a tiny amount of extra vinegar or a light soy‑based dipping sauce for added tang.
- 1515. Store any leftovers, uncovered, in the refrigerator for up to two days; re‑heat under a broiler to restore crispness.
Helpful tips while cooking
AI-assisted notes grounded in this recipe's ingredients, timings, and method—not additional creator instructions.
Dry the skin
Refrigerate the seasoned pork belly uncovered for at least 3 hours (or overnight) before roasting.
Vent the skin before high heat
Pierce the skin again with a fork after the first roast.
Rest before slicing
Let the pork belly rest 10 minutes on a cutting board after the final roast to allow juices.
Made this recipe?
Tap a star to rate it — ratings help other cooks decide what to make next.
Rate this recipe
This recipe card was structured automatically from the original source. Always check the source for allergens or details the extraction may have missed.
Frequently asked questions
- How long does it take to make Crispy Pork Belly?
- About 2 hours 20 minutes in total: 1 hour of prep and 1 hour 20 minutes of cooking.
- How many servings does this Crispy Pork Belly recipe make?
- This recipe makes 4 servings as written; ingredient quantities on this page can be scaled.
- Where does this Crispy Pork Belly recipe come from?
- It was shared by An Son on instagram.com. ReelsMeals structured the original post into this step-by-step card; the original is linked above.