Peach Posset Recipe
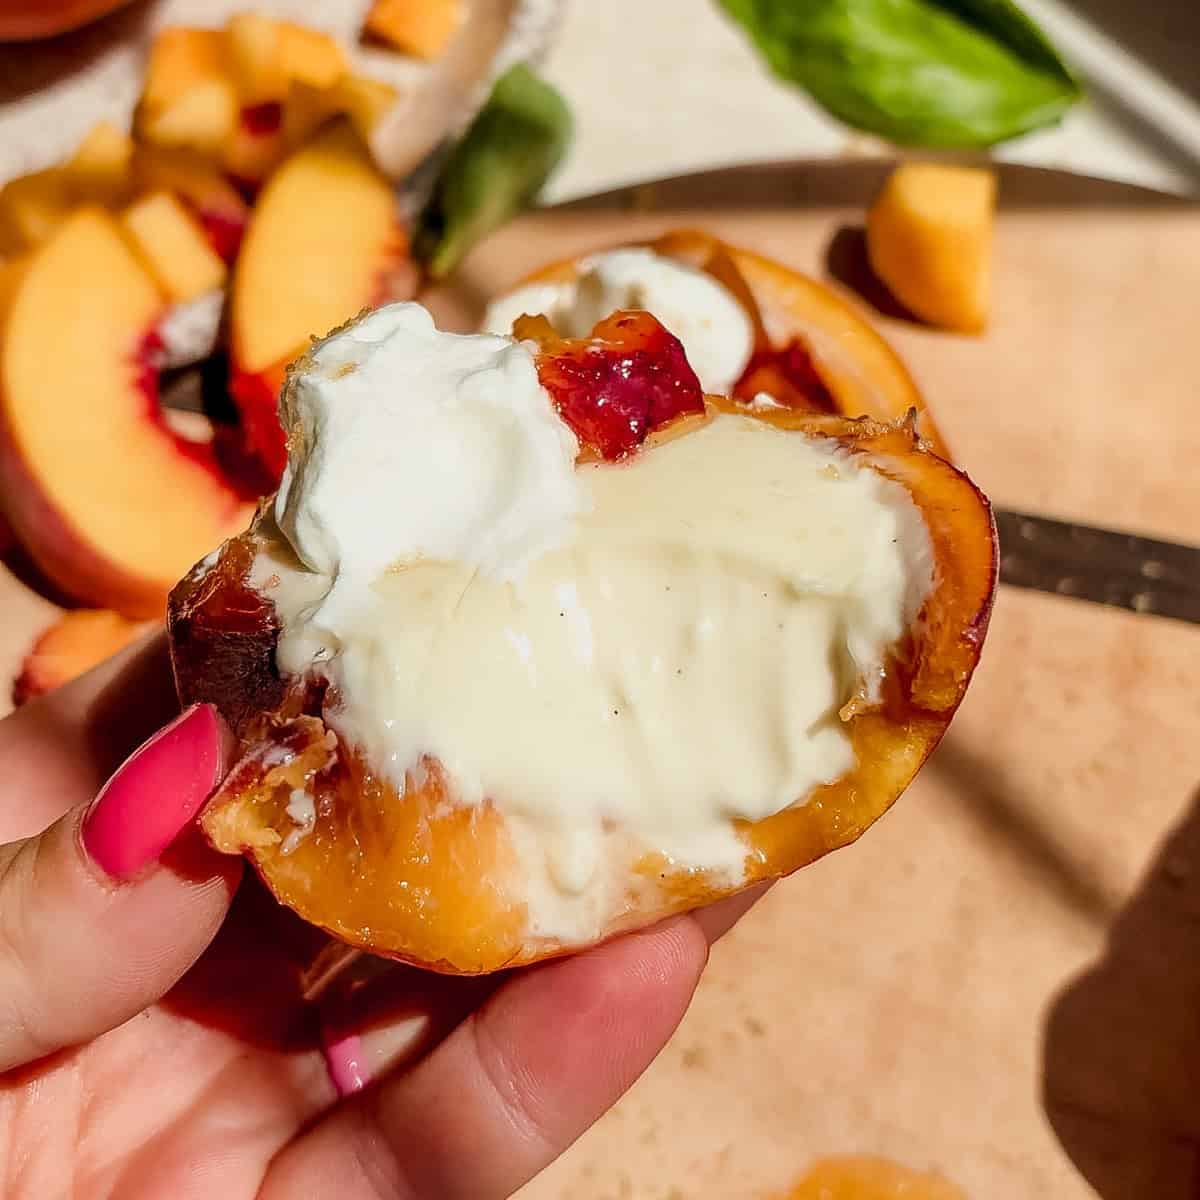
A silky vanilla‑cream posset baked inside hollowed peach shells, finished with warm brown‑butter cinnamon peaches and a dollop of whipped cream. The hot buttered peach topping contrasts beautifully with the chilled cream.
From: Instagram(view original)
Rate this recipe
Save this recipe to your cookbook
Free, no account needed. Keep the source and find it again without searching the feed.
Prep Time
Cook Time
Servings
Ingredients
- 4 medium ripe peaches
- 2 cups heavy cream
- 1/3 cup sugar
- 3 tbsp lemon juice
- 2 tsp vanilla extract or vanilla bean paste
- 3 tbsp unsalted butter
- 1 tbsp brown sugar
- cinnamon
- whipped cream
- brown sugar
Instructions
- 1Cut each peach in half lengthwise and scoop out the flesh, leaving about a 1/4‑inch border of fruit attached to the skin; set the skins aside and arrange the hollowed peach halves in a baking dish so they touch and remain stable.
- 2Dice the scooped‑out peach flesh, toss with the lemon juice, cover tightly, and refrigerate while you prepare the posset base.
- 3In a saucepan, combine the heavy cream and sugar; heat over medium until the mixture gently boils, then continue to simmer, stirring constantly, for 5 minutes to ensure the cream will set.
- 4Remove the saucepan from the heat and stir in the lemon juice and vanilla extract (or bean paste). Strain the mixture through a fine‑mesh sieve into a bowl or measuring cup with a lip to remove any cooked bits.
- 5Pour the strained cream mixture into the hollowed peach shells, filling them completely. Cover the dish and chill in the refrigerator for at least 3 hours, or until set.
- 6About 10 minutes before serving, melt the butter in a small saucepan over medium‑low heat. Continue cooking, stirring, until the butter turns golden brown and develops a nutty aroma (about 2‑3 minutes). Add the reserved diced peaches, brown sugar, and a pinch of cinnamon; cook for 2‑3 minutes until the peaches are just softened and coated in the brown‑butter sauce.
- 7To serve, spoon the warm brown‑butter peach topping over each chilled posset, add a dollop of homemade whipped cream, drizzle any remaining brown‑butter sauce from the pan, and finish with a light sprinkle of brown sugar.
Helpful tips while cooking
AI-assisted notes grounded in this recipe's ingredients, timings, and method—not additional creator instructions.
Chill to set
After pouring the cream mixture into the peach shells, cover and refrigerate for at least 3 hours before serving.
Brown butter timing
Melt butter until it turns golden brown and smells nutty (about 2‑3 minutes) before adding the peach pieces.
Prep peach flesh early
Dice the scooped peach flesh, toss with lemon juice, and refrigerate while you make the posset base.
Fill shells completely
Pour the strained cream mixture into the hollowed peach halves until they are fully filled, then cover the dish.
One recipe link, ready for anywhere
Use it in Instagram, TikTok, YouTube, email, or a creator bio. It always opens this recipe and keeps the original source attached.
Publishing this recipe elsewhere? Add a visible credit link back to this page.
Publisher & backlink kit+
Give publishers a useful, properly credited asset. Backlinks only happen when another site chooses to publish and credit it.
Download the card, upload it to Google Lens, then use the outreach message for relevant uncredited copies. Contact only sites that actually reuse the asset.
About this saved recipe
Made this recipe?
Tap a star to rate it — ratings help other cooks decide what to make next.
Rate this recipe
This recipe card was structured automatically from the original source. Always check the source for allergens or details the extraction may have missed.
Frequently asked questions
- How long does it take to make Peach Posset?
- About 28 minutes in total: 20 minutes of prep and 8 minutes of cooking.
- How many servings does this Peach Posset recipe make?
- This recipe makes 4 servings as written; ingredient quantities on this page can be scaled.
- Where does this Peach Posset recipe come from?
- It was shared on instagram.com. ReelsMeals structured the original post into this step-by-step card; the original is linked above.