Teriyaki Glazed Cheeseburger with Miso Mayo
A juicy beef patty glazed with thickened teriyaki sauce, topped with melted American cheese and a creamy miso mayo. Crunchy pickled daikon, sliced red chili and toasted brioche bun add texture and bright flavors for a gourmet burger experience.
Recipe by B U R G E R F E C T I O N · Structured by ReelsMeals
From: Instagram(view original)
Rate this recipe
Save this recipe to your cookbook
Free, no account needed. Keep the source and find it again without searching the feed.
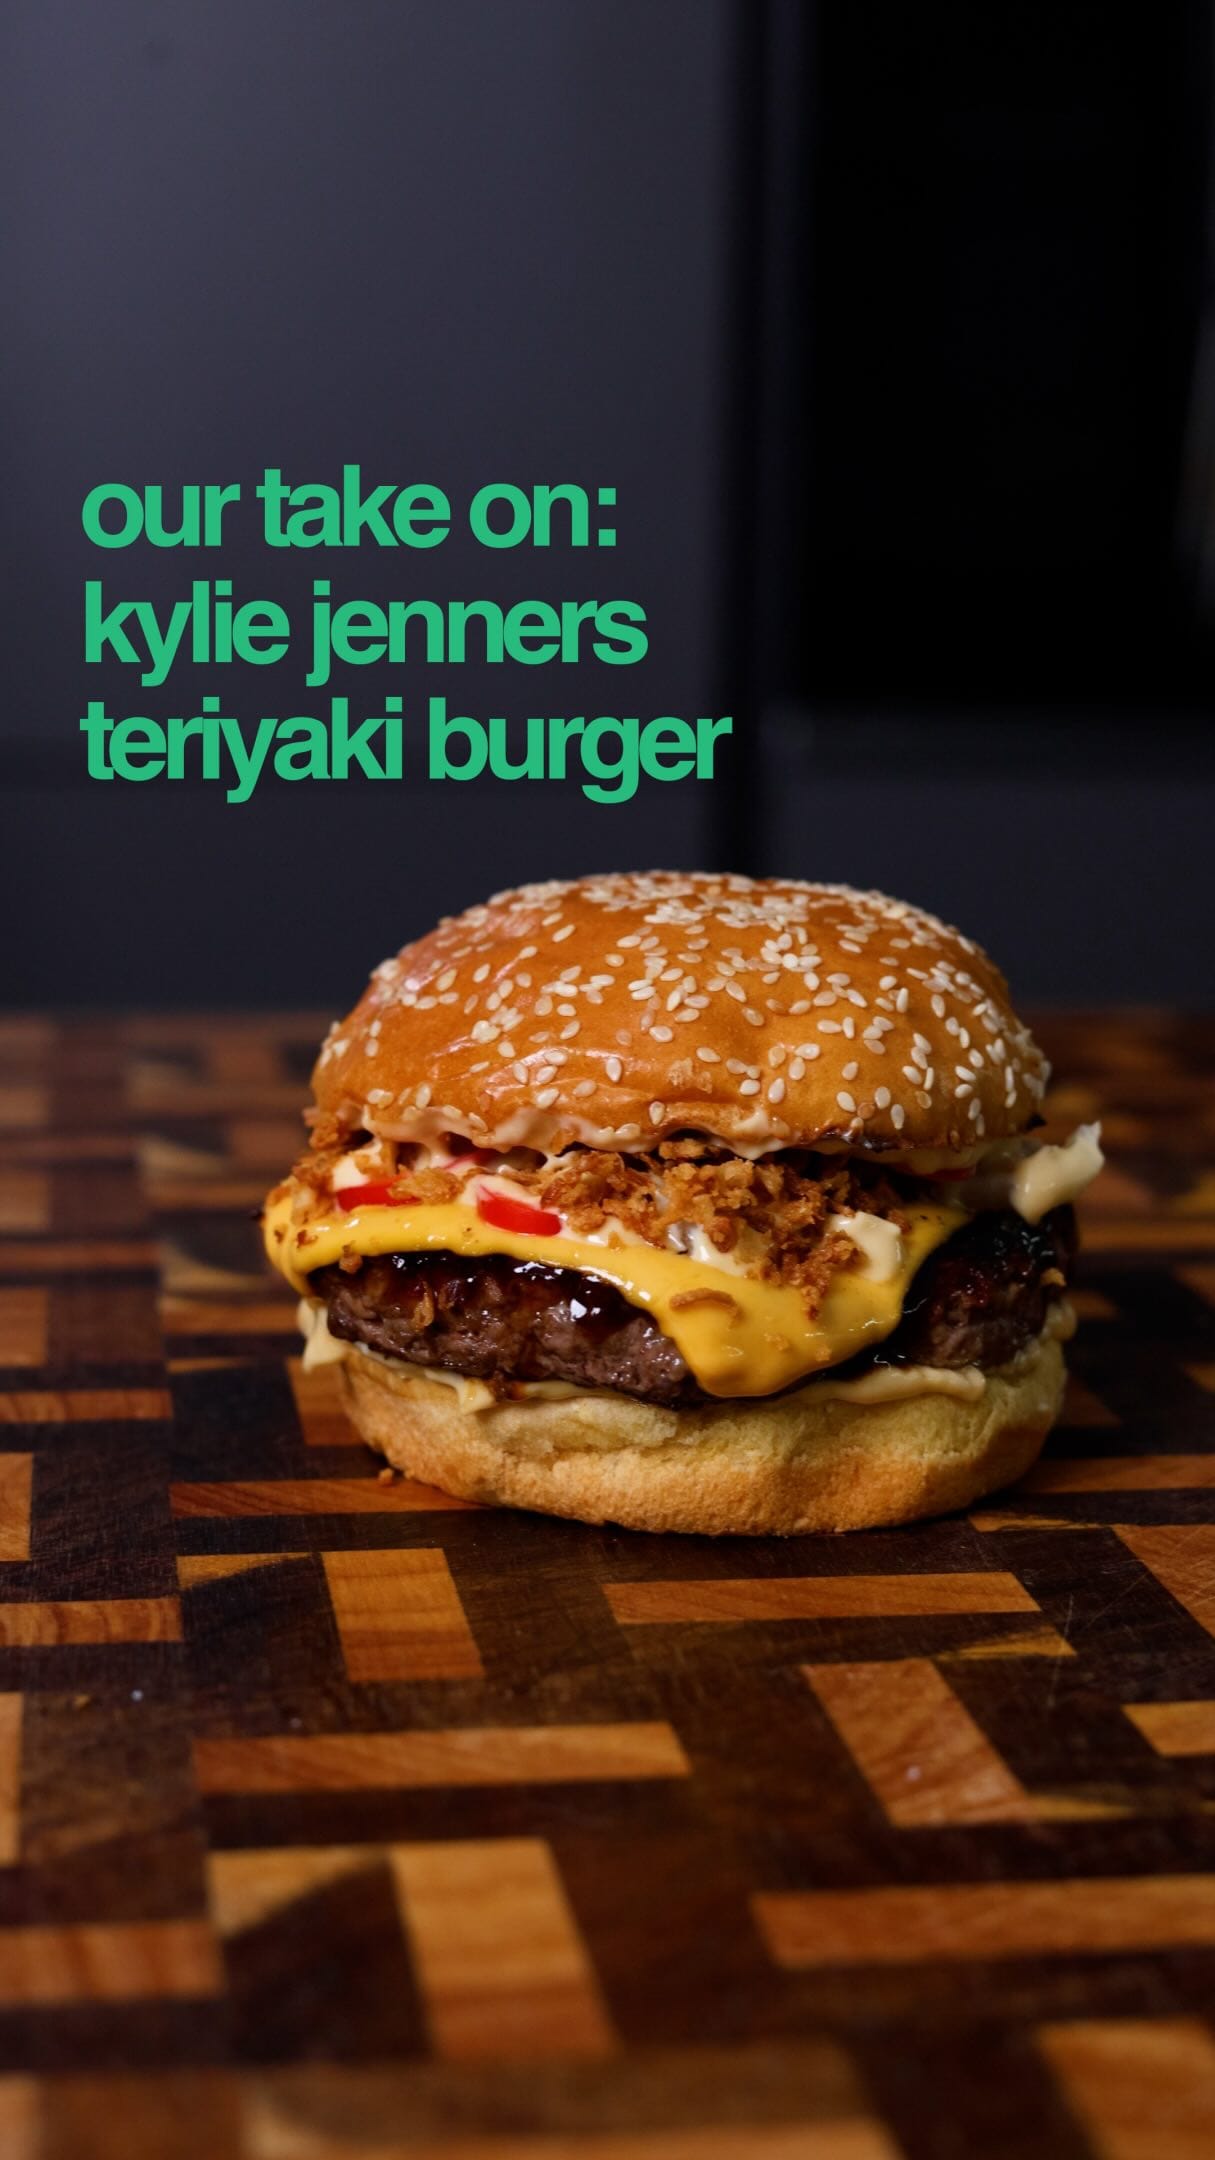
Watch the recipe video
Video plays from the original creator's platform. View the original video
Prep Time
Cook Time
Servings
Ingredients
- 2 tbsp Kewpie mayo
- 1 tsp Miso paste
- Teriyaki sauce, to taste
- 4 oz Beef patty
- 1 slice American cheese
- 1/4 cup Pickled daikon radish
- 1 Fresh red chili
- 1/4 cup Crispy fried onions
- 1 Brioche bun
Instructions
- 1In a small bowl, combine 2 tbsp Kewpie mayo with 1 tsp miso paste; stir until smooth to make miso mayo and set aside.
- 2Pour the desired amount of teriyaki sauce into a small saucepan; bring to a gentle simmer over medium heat, stirring occasionally, and reduce until the sauce thickens to a glaze consistency (about 3–4 minutes).
- 3While the sauce reduces, split the brioche bun and toast the cut sides in a dry skillet over medium heat until golden brown, about 1 minute per side; keep warm.
- 4Slice the fresh red chili thinly and set aside for assembly.
- 5Form the 113.4 g beef patty, season both sides with salt and freshly ground black pepper, and place it in a hot skillet; sear without moving for 2–3 minutes until a crust forms.
- 6Flip the patty once and continue cooking for another 2 minutes, then brush the thickened teriyaki glaze onto the cooked side of the patty.
- 7Place the slice of American cheese on top of the patty, add a splash of water (about 1 tbsp) to create steam, cover the skillet with a lid, and let the cheese melt for 30 seconds.
- 8Remove the patty from the heat, sprinkle a pinch of freshly ground black pepper over the melted cheese, and let it rest for 1 minute.
- 9To assemble, spread a generous layer of miso mayo on the bottom half of the toasted brioche bun.
- 10Place the glazed cheeseburger patty on the mayo, then add pickled daikon radish, sliced red chili, and a sprinkle of crispy fried onions.
- 11Add another thin layer of miso mayo on top of the toppings, then cap with the top bun.
- 12Serve immediately while the bun is warm and the cheese is melty.
One recipe link, ready for anywhere
Use it in Instagram, TikTok, YouTube, email, or a creator bio. It always opens this recipe and keeps the original source attached.
Publishing this recipe elsewhere? Add a visible credit link back to this page.
Publisher & backlink kit+
Give publishers a useful, properly credited asset. Backlinks only happen when another site chooses to publish and credit it.
Download the card, upload it to Google Lens, then use the outreach message for relevant uncredited copies. Contact only sites that actually reuse the asset.
About this saved recipe
Source-aware card
ReelsMeals turns instagram.com into a kitchen-friendly checklist while keeping the original source attached.
Cooking context
25 min estimated total time for 1 servings.
Explore related saves
Made this recipe?
Tap a star to rate it — ratings help other cooks decide what to make next.
Rate this recipe
This recipe card was structured automatically from the original source. Always check the source for allergens or details the extraction may have missed.
Frequently asked questions
- How long does it take to make Teriyaki Glazed Cheeseburger with Miso Mayo?
- About 25 minutes in total: 15 minutes of prep and 10 minutes of cooking.
- How many servings does this Teriyaki Glazed Cheeseburger with Miso Mayo recipe make?
- This recipe makes 1 serving as written; ingredient quantities on this page can be scaled.
- Where does this Teriyaki Glazed Cheeseburger with Miso Mayo recipe come from?
- It was shared by B U R G E R F E C T I O N on instagram.com. ReelsMeals structured the original post into this step-by-step card; the original is linked above.